
Most leaky outdoor spigots are fixed one of two ways: tighten the packing nut behind the handle an eighth to a quarter turn, or replace the worn rubber washer on the end of the valve stem. The parts cost a few dollars and the job takes about 30 minutes.
A dripping outdoor spigot is a minor annoyance that turns into a real problem if you leave it alone. It wastes water, it shows up on your bill, and it keeps a patch of soil next to your foundation permanently damp.
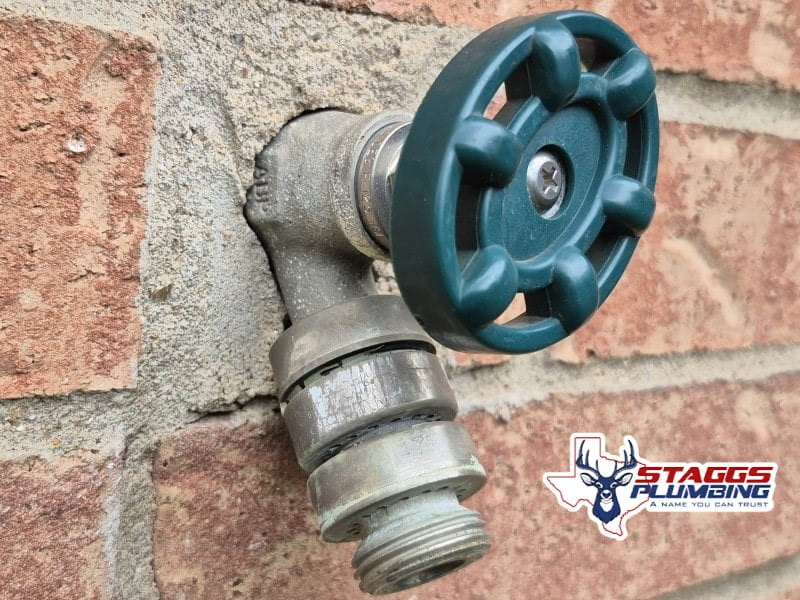
Why a dripping spigot matters more in North Texas
Around here, damp foundation soil is not just cosmetic. Our expansive clay swells when it stays wet, and uneven swelling under one corner of the house is exactly the kind of movement that stresses the plumbing running beneath your slab. A spigot that drips for a season can contribute to the conditions that produce a slab leak — a far more expensive conversation.
One note on words: “spigot,” “hose bibb,” and “outdoor faucet” all mean the same thing. We use them interchangeably below.
What actually causes the drip
Inside the spigot is a valve stem — sometimes a few inches long, up to 12 inches on frost-proof models. On the end of that stem sits a small rubber washer. Heat, age, and ordinary use wear it out, and once it can no longer make a water-tight seal, the dripping starts. The washer costs a few dollars at any hardware store, and replacing it is a job most homeowners can do in about half an hour.


Try the simple fix first
If the spigot leaks around the valve stem while the water is running, you may not need parts at all. Tighten the packing nut just behind the handle an eighth to a quarter turn. That small adjustment re-compresses the packing and stops many stem leaks on the spot.

Tools and parts you’ll need
- Adjustable wrench
- Channel-lock pliers
- Water meter cut-off key (and a meter key if your meter lid needs one)
- Replacement washer, same size as the worn one
- Screwdriver
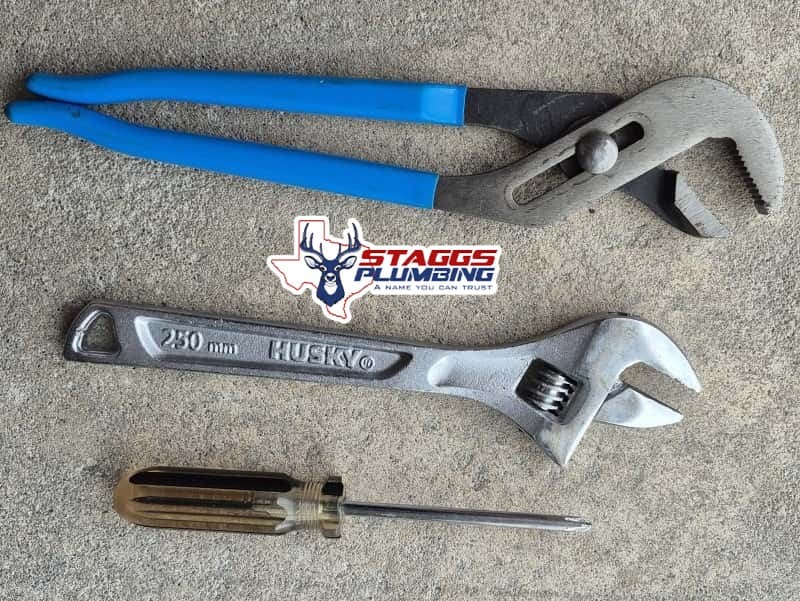
Step-by-step: replacing the spigot washer
- Turn the water off at the meter. The meter is usually near the street under a metal lid. Open the cover (a meter key helps), and with your cut-off key turn the valve clockwise about 180 degrees to shut off the supply.
- Relieve the pressure. Back at the house, open the spigot by turning the handle counter-clockwise so any trapped air and water can escape.
- Loosen the packing nut beneath the handle. Hold the spigot body still with channel locks while you back the nut off with an adjustable wrench.
- Pull the valve stem out. Hold the faucet handle and draw the stem straight out of the spigot body.
- Remove the screw on the end of the stem that holds the washer in place.
- Swap the washer for a new one of the same size. The new one will look noticeably thicker — that’s the point.
- Reassemble. Push the stem back into the housing and snug the packing nut down with the wrench.
- Close the spigot by turning the handle clockwise.
- Restore the water at the meter — slowly, about 180 degrees counter-clockwise.
- Flush and test. Open the spigot for several seconds to clear air from the line, check around the packing nut for leaks, then shut it off and check again. A few seconds of residual dripping after shut-off is normal — that’s just the chamber draining.
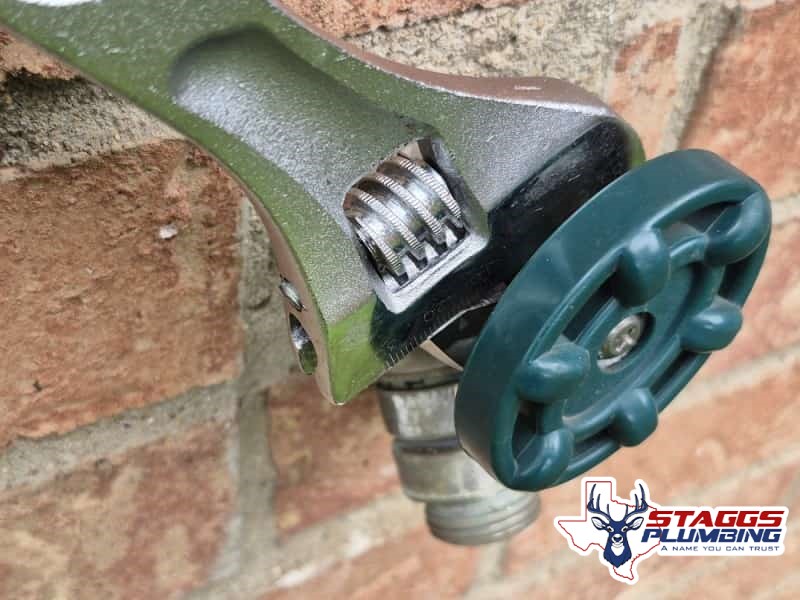

When the washer isn’t the problem
If the spigot still drips after a new washer and a snug packing nut, the valve seat or the spigot body itself is likely worn or damaged — and a spigot that split from a hard freeze can’t be washer-fixed at all. At that point the right repair is replacing the fixture, and if the split is behind the wall, it’s a frozen pipe repair rather than a faucet job.
Not sure which situation you have, or just don’t have the tools and the afternoon? Call Staggs Plumbing at (682) 284-0966 or contact us online. Flat-rate price in writing before any work starts, and a 2-year labor warranty on the repair.